
Jump starting a car isn’t just a handy skill; it’s a lifesaver for those moments when your battery decides to give out. Whether you’re a seasoned driver or a newbie, this guide will walk you through the process of jump starting a car using both traditional cables and portable jump starters. I’ll also share some personal favorites, like the AVAPOW jump starter and Stanley jump starter, that have proven to be reliable in tough situations.
Why Do Cars Need to Be Jump Started?
Before we dive into the how-to, let’s understand why cars sometimes need a jump start. The most common reason is a dead battery, often due to leaving lights on, a severe winter weather condition, a faulty alternator, or a battery that’s nearing the end of its life. When the battery doesn’t have enough charge to start the engine, jump starting is the quick fix to get you back on the road.
What You Need to Jump Start a Car
Traditional Method: Jump Start Cables
- Jump Start Cables (Jumper Cables): Jumper cables are essential for connecting your dead battery to a working one.
- Another Car with a Working Battery: This will provide the necessary charge to get your car started.
Portable Method: Jump Starters
- Portable Jump Starter: Portable jump starter devices like the AVAPOW or Stanley jump starters are compact and powerful, perfect for solo jump starts.
- Owner’s Manual: Always good to have on hand, especially for newer vehicles with advanced electrical systems.
Jump Starting a Car Using Traditional Cables
Step 1: Safety First
- Wear Protective Gear: Gloves and safety glasses are recommended to protect yourself from any sparks or battery acid.
- Check the Battery: Ensure the battery is not damaged or leaking. If it is, do not proceed and call roadside assistance.
Step 2: Position the Cars
- Park Both Cars: Position the working car close to the dead car, but not touching. Both cars should be turned off and in park with the handbrakes engaged.
Step 3: Connect the Jumper Cables

- Identify the Battery Terminals: The positive terminal is usually marked with a “+” sign and is red, while the negative terminal is marked with a “-” sign and is black.
- Connect the Positive Clamp: Attach the red (positive) clamp to the positive terminal of the dead battery.
- Connect to the Working Car: Attach the other red (positive) clamp to the positive terminal of the working car’s battery.
- Connect the Negative Clamp: Attach the black (negative) clamp to the negative terminal of the working car’s battery.
- Ground Connection: Attach the remaining black (negative) clamp to an unpainted metal surface on the dead car, such as a bolt or bracket, away from the battery. This is to ground the circuit and prevent any sparks near the battery.
Step 4: Start the Working Car
- Turn on the Working Car: Start the engine of the car with the working battery. Let it run for a few minutes to allow the battery to charge the dead battery.
Step 5: Start the Dead Car
- Attempt to Start the Dead Car: Try to start the dead car. If it doesn’t start, rev the engine of the working car slightly and try again in about 30 seconds.
Step 6: Remove the Cables
- Turn Off the Engine: Once the dead car starts, turn off both engines.
- Remove the Cables in Reverse Order: Start with the black (negative) clamp on the dead car, then the black clamp on the working car, followed by the red (positive) clamp on the working car, and finally the red clamp on the dead car.
Step 7: Drive the Dead Car
- Drive for at Least 30 Minutes: This will help recharge the battery fully. If the car dies again after driving, it might be a sign of a more serious issue, and you should have it checked by a professional.
Jump Starting a Car Using a Portable Jump Starter
Step 1: Safety First (Again)
- Wear Protective Gear: Just like with traditional cables, gloves and safety glasses are important.
- Check the Battery: Ensure the jump starter is fully charged and in good condition. Also, inspect your car’s battery for any damage.
Step 2: Position the Jump Starter
- Place the Jump Starter Near the Battery: Make sure the jump starter is close enough to the car battery to easily connect the clamps.
Step 3: Connect the Clamps
- Identify the Battery Terminals: Again, the positive terminal is red and marked with a “+,” while the negative terminal is black and marked with a “-.”
- Connect the Positive Clamp: Attach the red (positive) clamp to the positive terminal of your car’s battery.
- Connect the Negative Clamp: Attach the black (negative) clamp to an unpainted metal surface on your car, away from the battery, to ground the circuit.
Step 4: Turn on the Jump Starter
- Power On the Jump Starter: Most portable jump starters have a power button or switch. Turn it on and wait for any indicators to confirm it’s ready.
Step 5: Start the Car
- Attempt to Start the Car: Turn the key or press the start button on your car. If it doesn’t start immediately, wait about 30 seconds and try again.
Step 6: Disconnect the Clamps
- Turn Off the Jump Starter: Once your car starts, turn off the jump starter.
- Remove the Clamps in Reverse Order: Start with the black (negative) clamp, then the red (positive) clamp.
Step 7: Drive the Car
- Drive for at Least 30 Minutes: Just like with the traditional method, driving will help recharge your car’s battery.
Personal Favorites: AVAPOW and Stanley Jump Starters
AVAPOW Jump Starter
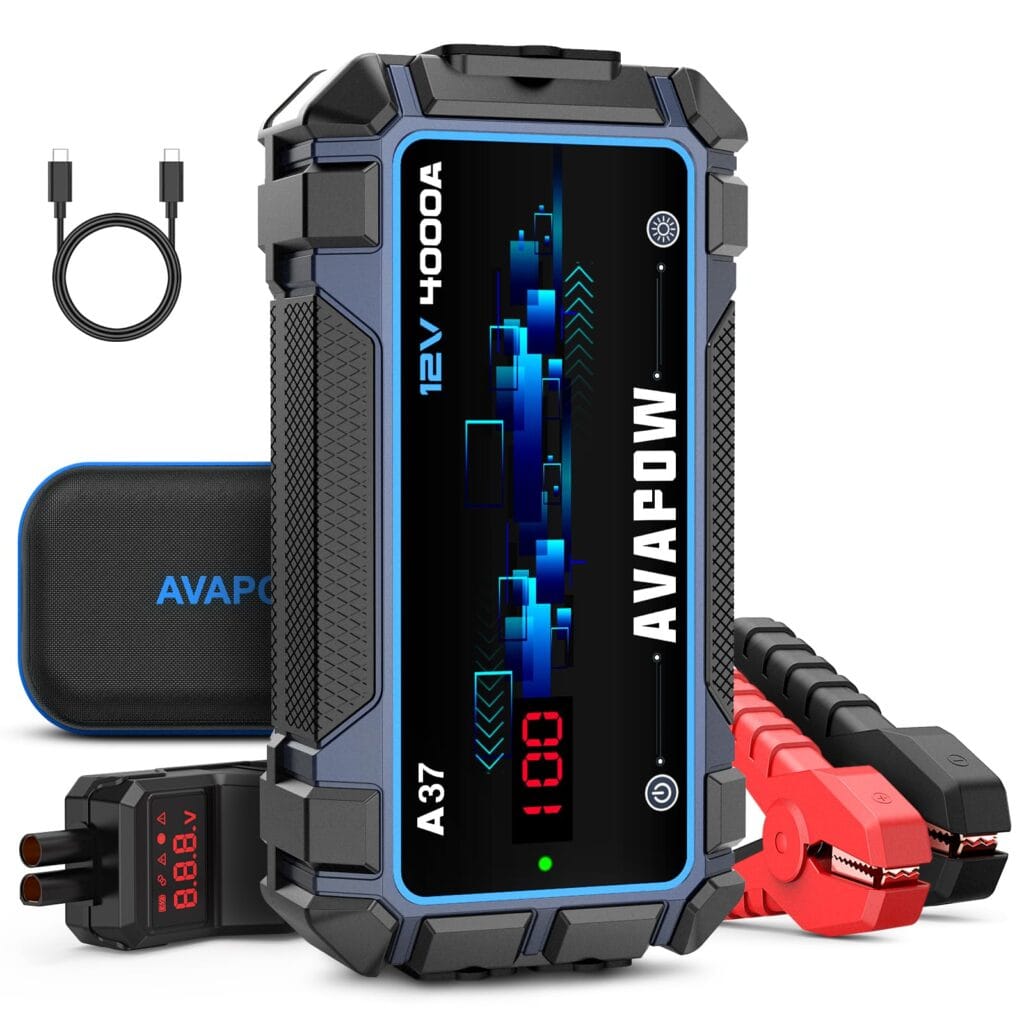
- Compact and Powerful: The AVAPOW jump starter is incredibly portable, making it easy to store in your trunk or even your glove compartment. Despite its size, it can provide enough power to start most car engines.
- Safety Features: It comes with multiple safety features, including reverse polarity protection, overcurrent protection, and short circuit protection. These features ensure that you can use it safely without worrying about damaging your car’s electrical system.
- Additional Tools: The AVAPOW jump starter often includes a built-in flashlight, which can be very handy in low-light conditions. It also has a USB port to charge your phone or other small devices.
Stanley Jump Starter

- Rugged and Reliable: Stanley is known for its durable and reliable tools, and their jump starter is no exception. It’s built to withstand harsh conditions and is ideal for outdoor and off-road use.
- High Capacity: The Stanley jump starter has a higher capacity, making it suitable for larger vehicles like trucks and SUVs. It can also handle multiple jump starts on a single charge.
- User-Friendly: The Stanley jump starter is designed with a straightforward and user-friendly interface. It often includes clear instructions and even a digital display to guide you through the process.
Tips for Maintaining Your Car Battery
- Regular Check-Ups: Have your battery checked regularly, especially if your car is older. A mechanic can test the battery and ensure it’s functioning properly.
- Keep It Clean: Clean the battery terminals to prevent corrosion, which can affect the battery’s performance.
- Avoid Draining the Battery: Turn off lights and electronics when the car is not running to avoid unnecessary battery drain.
- Charge the Battery: If your car sits idle for long periods, consider using a trickle charger to keep the battery charged.
- BEST BATTERY to consider: OPTIMA batteries.
Common Mistakes to Avoid
- Mixing Up the Clamps: Always connect the positive clamp to the positive terminal and the negative clamp to the negative terminal. Connecting them the wrong way can cause a short circuit and damage your car’s electrical system.
- Ignoring Safety Precautions: Safety should always be your top priority. Wear protective gear and follow the instructions carefully.
- Jump Starting in Wet Conditions: If it’s raining or the ground is wet, avoid jump starting your car. Water can conduct electricity and cause dangerous situations.
Conclusion
Jump starting a car is a skill every driver should know. Whether you’re using traditional jumper cables or a portable jump starter like the AVAPOW or Stanley, the process is straightforward and can get you out of a bind quickly. Always prioritize safety, and if you’re unsure, don’t hesitate to call for professional help. With a little practice and the right tools, you’ll be able to handle a dead battery with confidence and keep your adventures on the road smooth and uninterrupted.
FAQs
Can I jump start a car with a bad alternator?
- No, you shouldn’t: Jump starting a car with a bad alternator will only get you a short distance. The alternator is responsible for recharging the battery while the car is running. Without a functioning alternator, the battery will quickly drain again.
What should I do if my car won’t start after jump starting?
- Check the Battery: If the car starts but then dies immediately, it might be a sign of a bad alternator or other electrical issues. It’s best to have it checked by a professional.
- Inspect the Connections: Ensure that all the connections are secure and there are no loose wires. Sometimes, a poor connection can prevent the car from starting properly.
How often should I charge my portable jump starter?
- Every 3 Months: Most portable jump starters should be recharged every three months to maintain their effectiveness. Always refer to the manufacturer’s instructions for specific maintenance guidelines.
Are portable jump starters suitable for all types of cars?
- Mostly, Yes: Portable jump starters are designed to work with most modern cars, including those with advanced electrical systems. However, some high-end vehicles with specific requirements may need a different type of jump starter. Always check your car’s manual to be sure.
By following these steps and tips, you’ll be well-prepared to handle a dead battery and get back on the road safely and efficiently. Happy and safe driving!
Be the first to comment